

Understanding this unique product’s importance is essential to your company. However, it’s also vital to know how to assemble these customized solutions based on the installation conditions you encounter. You’ll need to equip your team with the right resources to ensure success.
Tools and Resources to Complete Air Upgrades
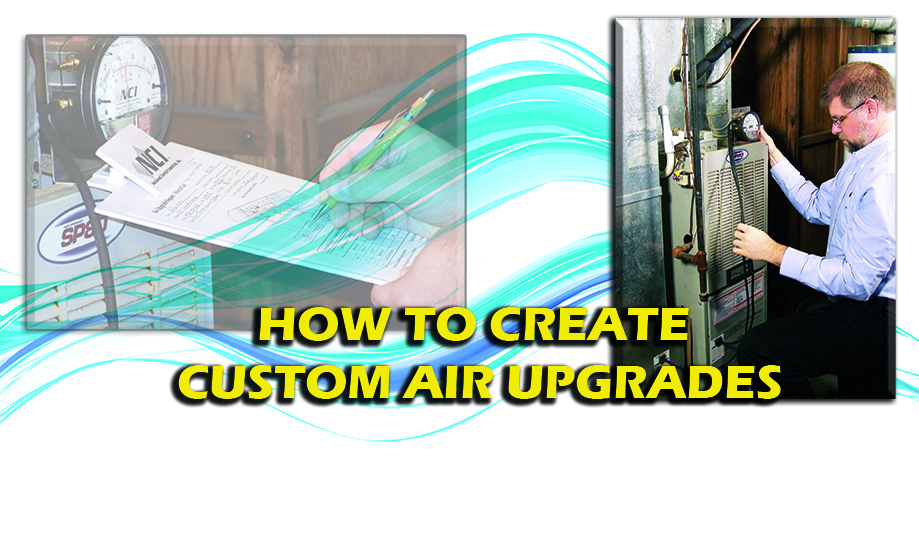
Most duct system repairs fail because of inadequate testing and an overabundance of guessing. The first step to creating a custom Air Upgrade is ensuring you have the right test results. Your findings hinge on measurements to reveal system and equipment defects. You’ll need a variety of measurements that include:
- Total external static pressure (TESP)
- Pressure drops (coil and filter)
- Duct pressures (supply and return
- Plotted/Measured fan airflow
- Temperatures (both equipment and system).
You begin to “see” airflow defects hidden from others from these measurements. Depending on the problems you discover from the above tests, you can also add other measurements.
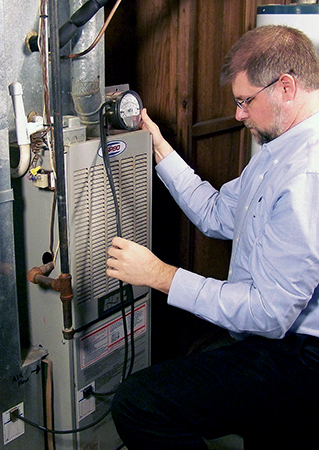
demonstrates doing a
static pressure test
The measurements are only one piece of the puzzle. You also need equipment paperwork and system documentation to make sense of your readings.
Without the equipment specifications, proper reporting, customer survey results, photos, and a floor plan, it’s hard to create a detailed scope of work to share with your installation team. Documentation is your best friend to prevent any unforeseen problems.
While you may customize each Air Upgrade, there are many common elements. Your measurements show the areas to focus on with the most significant issues. Never assume any part of the system works well until you test and prove it.
Most Air Upgrades start near the air handling equipment and then continue outward to the trunk ducts, duct fittings, and branch ducts. Remember, you’re trying to relieve excessive static pressure and improve fan airflow. So, start with the equipment and then work outwards. It’s incredible what you can do simply by increasing the return duct capacity, sizing the air filter correctly, and installing low total equivalent length (TEL) duct fittings.
Besides the duct system, look at the supply registers and return grilles. Make sure they deliver and return conditioned air in a way that helps it mix without creating drafts. Common duct installation materials and hand tools take on new meaning once paired with test results and the correct information to develop solutions your customers desire.
Essential Skills to Assemble Custom Air Upgrades
Once you have the tools and resources, you’ll need to evaluate your team’s skills. Otherwise, there’s no way to ensure the Custom Air Upgrade is right.
Armed with the necessary measurements, you can now interpret the test results. Unless you know what these readings mean, it’s impossible to confidently create a scope of work that addresses the system issues you found. Instead, you’re guessing. Common diagnostic skills to master are:
- Static pressure diagnostics
- Fan airflow diagnostics
- Temperature diagnostics
- Customer diagnostics.
Don’t forget to evaluate installation conditions. For example, you can only make modifications if you have enough room. First, look at the equipment and duct system location. Make sure you don’t prescribe equipment, repairs, or ducts that won’t fit in the space.
Accessibility limitations are one of the toughest obstacles to overcome. You can design the perfect Custom Air Upgrade for a customer, but it won’t work unless it fits. You’ll need to come up with an alternative solution.
Communicate to your team any promises you made to the customer. Make sure you have a process to share the work scope. Most Custom Air Upgrades fail when there’s a break in the communication chain between technicians, salespeople, installers, and the customer.
Click Below for the Next Page:


Recent Comments